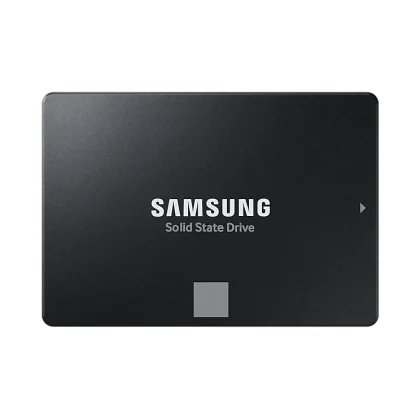
Upgrade your laptop with an SSD: step-by-step
How to choose a compatible SSD for a laptop, clone or reinstall, and swap the drive safely.
Replacing a laptop hard drive with an SSD is the single biggest speed upgrade for an older machine: faster boot, faster programs, and quieter running.
1. Check what fits
- 2.5-inch SATA bay: most laptops before about 2018. Any 2.5-inch, 7 mm SATA SSD fits.
- M.2 slot: newer laptops. Check whether it takes SATA M.2 or NVMe M.2 and the length (usually 2280). The manual or a search for the model's specifications will tell you.
2. Choose capacity
500 GB to 1 TB suits most users; 2 TB if you store video or large projects. Keep at least 15% free for best performance.
3. Clone or reinstall
Cloning copies your existing Windows installation to the new drive using a USB-to-SATA or USB-to-M.2 adapter and free cloning software. A fresh install is cleaner if the old system is slow for software reasons.
4. Swap the drive
Power off, remove the battery or disconnect it if possible, open the service panel, swap the drive, and boot. Back up your data first.
Browse SATA SSDs and NVMe M.2 SSDs. Not sure which fits? Send us the laptop model and we will tell you.
Request a quote or message us on WhatsApp and we will help you choose.